Your Head Start centers require specific set up parameters in Minute Menu CX. This article outlines a few of the differences between these locations and other center programs, as well as how you handle said differences in Minute Menu CX.
Enrolling Head Start Centers
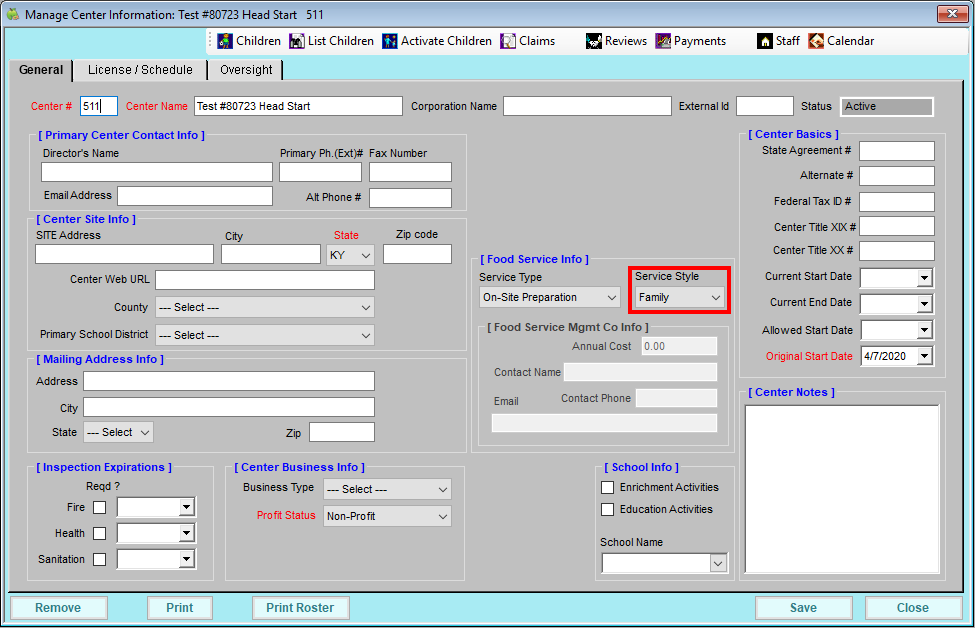
- Click Enroll Center from the toolbar at the top of the page. The Enroll New Center window opens to the General tab.
- Begin setting the center up as you normally would. For details, see Enroll Centers.
- In the General tab, Set the Service Style drop-down menu to Family.
- In the License/Schedule tab, click the Program Type drop-down menu and select Head Start.
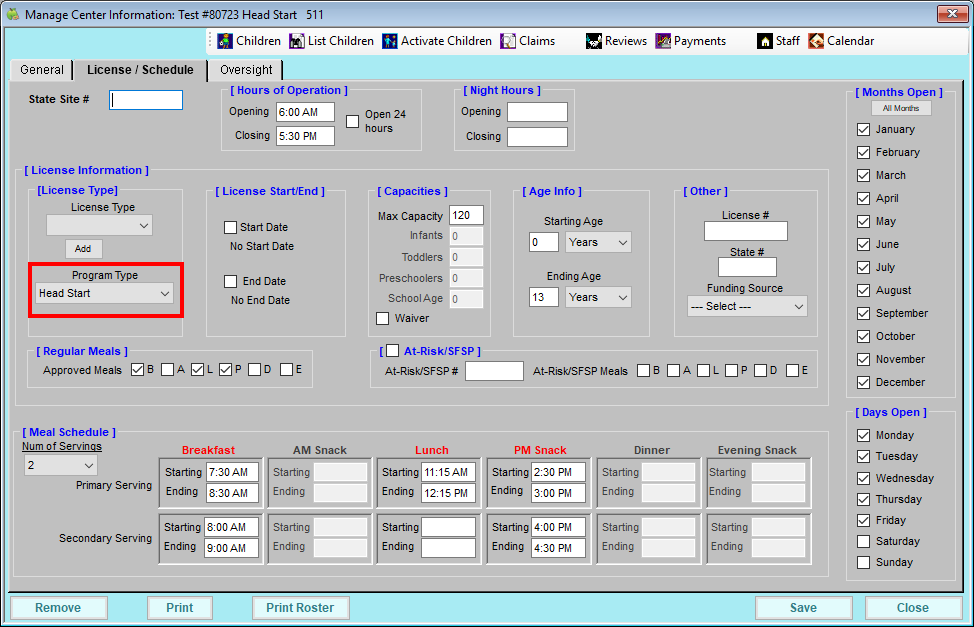
- Finish enrolling the center as you usually would.


Enrolling Children in Head Start Centers
All children enrolled at a Head Start center are reimbursed at the Free rate. If you use eForms, children should default to Free based on the income information their parents provide once you approve and renew their forms.
If you are manually enrolling children for a Head Start center, set the Reimbursement Level drop-down menu in the Manage Child Information Oversight tab to Free and provide the supporting income information from the paper income eligibility form.
Note that children enrolled in Head Start programs may also have varied schedules. This could be morning attendance two days and afternoon attendance three days, or some children may only be present for a few months of the year. You can use the Child and Attendance reports to track attendance for these children.
Foods & Menus for Head Start Centers
While Head Start sites are subject to the rules of the CACFP, some sites may serve specialty foods or fresher foods than is typical. You can customize your food list, categories, and rules to accommodate the variations in foods offered. Determine what works best for your business and your sites.
Include Child Nutrition (CN) Label Numbers in Food Names
When adding foods to your food list, you can include the CN label number somewhere in the food name. This lets the State and your sites know that the food is a CN-labeled product being offered at meal service. The CN label details should be stored on-location. For more information, see Add CN Label Numbers to Foods.
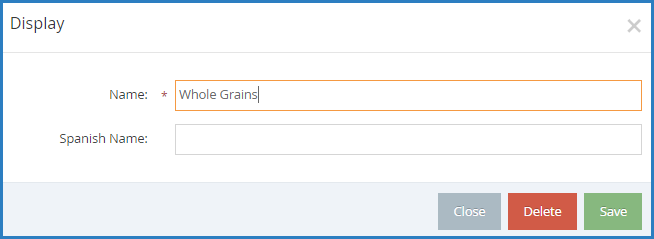
Create Custom Food Categories
Create custom categories to track specific food types. For example, you could create a Whole Grains category to which you assign whole grain-rich foods. Your sites can then quickly find these foods when recording daily menus. You can also filter your food list and the food list export by these custom categories to easily manage your food list and track any specialty food items. For information about creating custom food categories, see Food Categories.
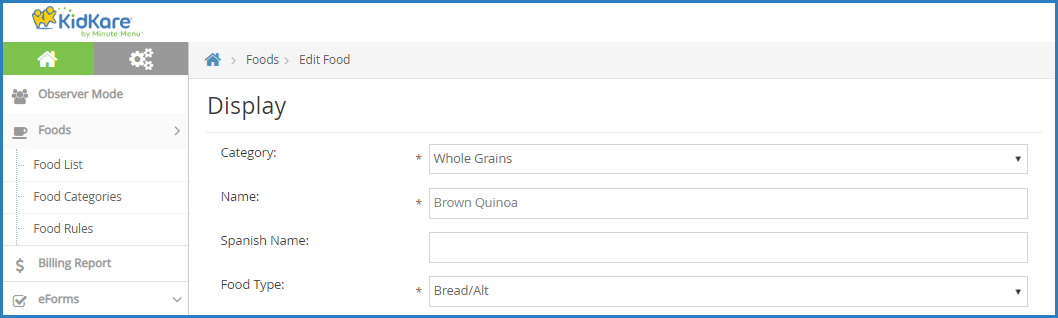
Note that these custom categories still exist under the broader meal component categories—they do not supersede them. For example, a site would see the Whole Grain category when selecting a Bread/Alternate. When adding a food in KidKare, this is the Food Type you select.
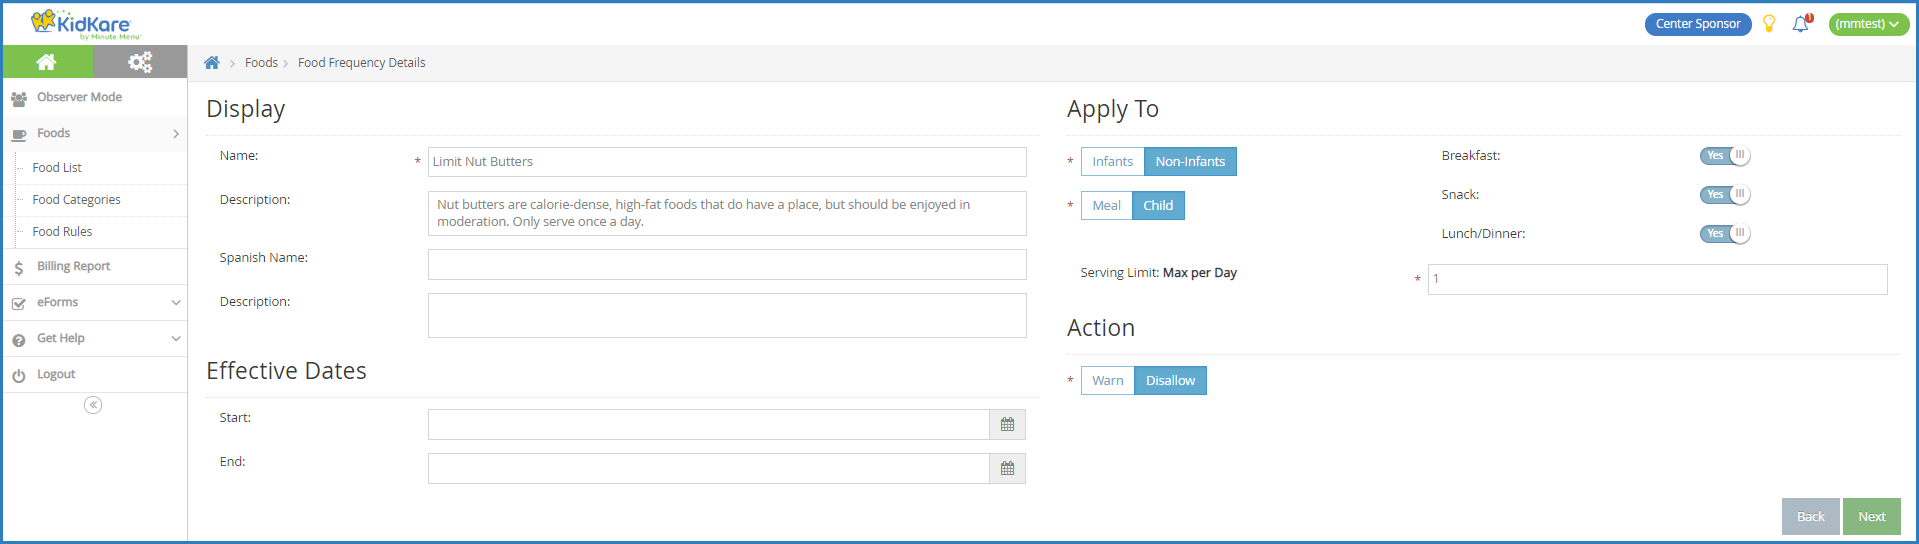
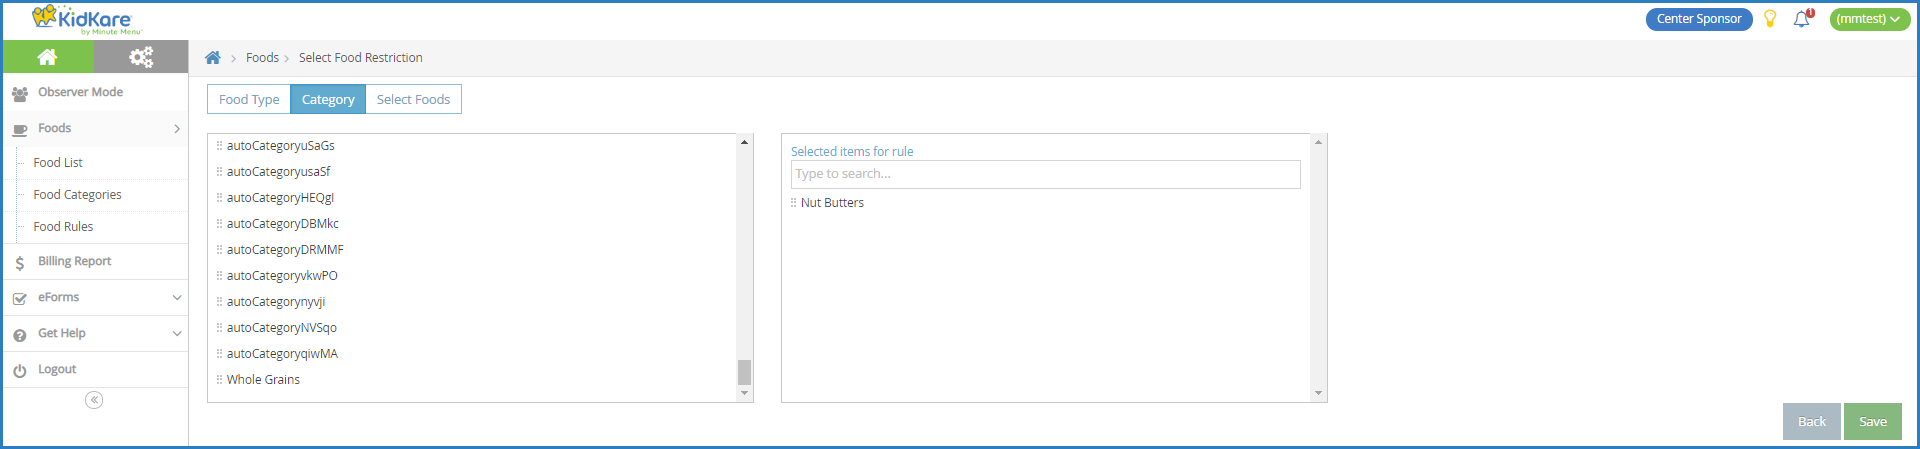
Create Food Rules
Food rules allow you to control what foods your sites can serve. There are two types of food rules:
- Food Frequency Rules: These rules control how often a food can be served in a day, week, or month. For example, this type of food could be useful for limiting high-calorie and high-fat foods, such as nut butters.
- Food Combination Rules: These rules dictate what foods cannot be served together. You can also set a food combination rule that prevents any food included in the rule from being served. For example, you can set up a rule that prevents two starchy foods from being served at one meal.
When you create a food rule, you can also specify how it is handled during claims processing. You can apply the rule by child or by meal and determine whether the meal/child is warned or disallowed. For more information about setting up food rules, see Food Rules.