Customize the emails parent/guardians receive when you send enrollment invitations, send forms back for revision, and approve enrollments. You can also customize the Thank You email sent when the parent submits their information to you or your center.
- Log in to app.kidkare.com. Use the same credentials you use to log in to Minute Menu CX.
- From the menu to the left, click eForms.
- Click Send Invitations. The Send Invitations page opens.
- Click Edit Email. The Initial Invitation Template page opens by default.
- Click the drop-down menu at the top of the page and select the template to edit. For example, select Thank You for Your Submission Template to edit the automated email parents/guardians receive upon form submission.
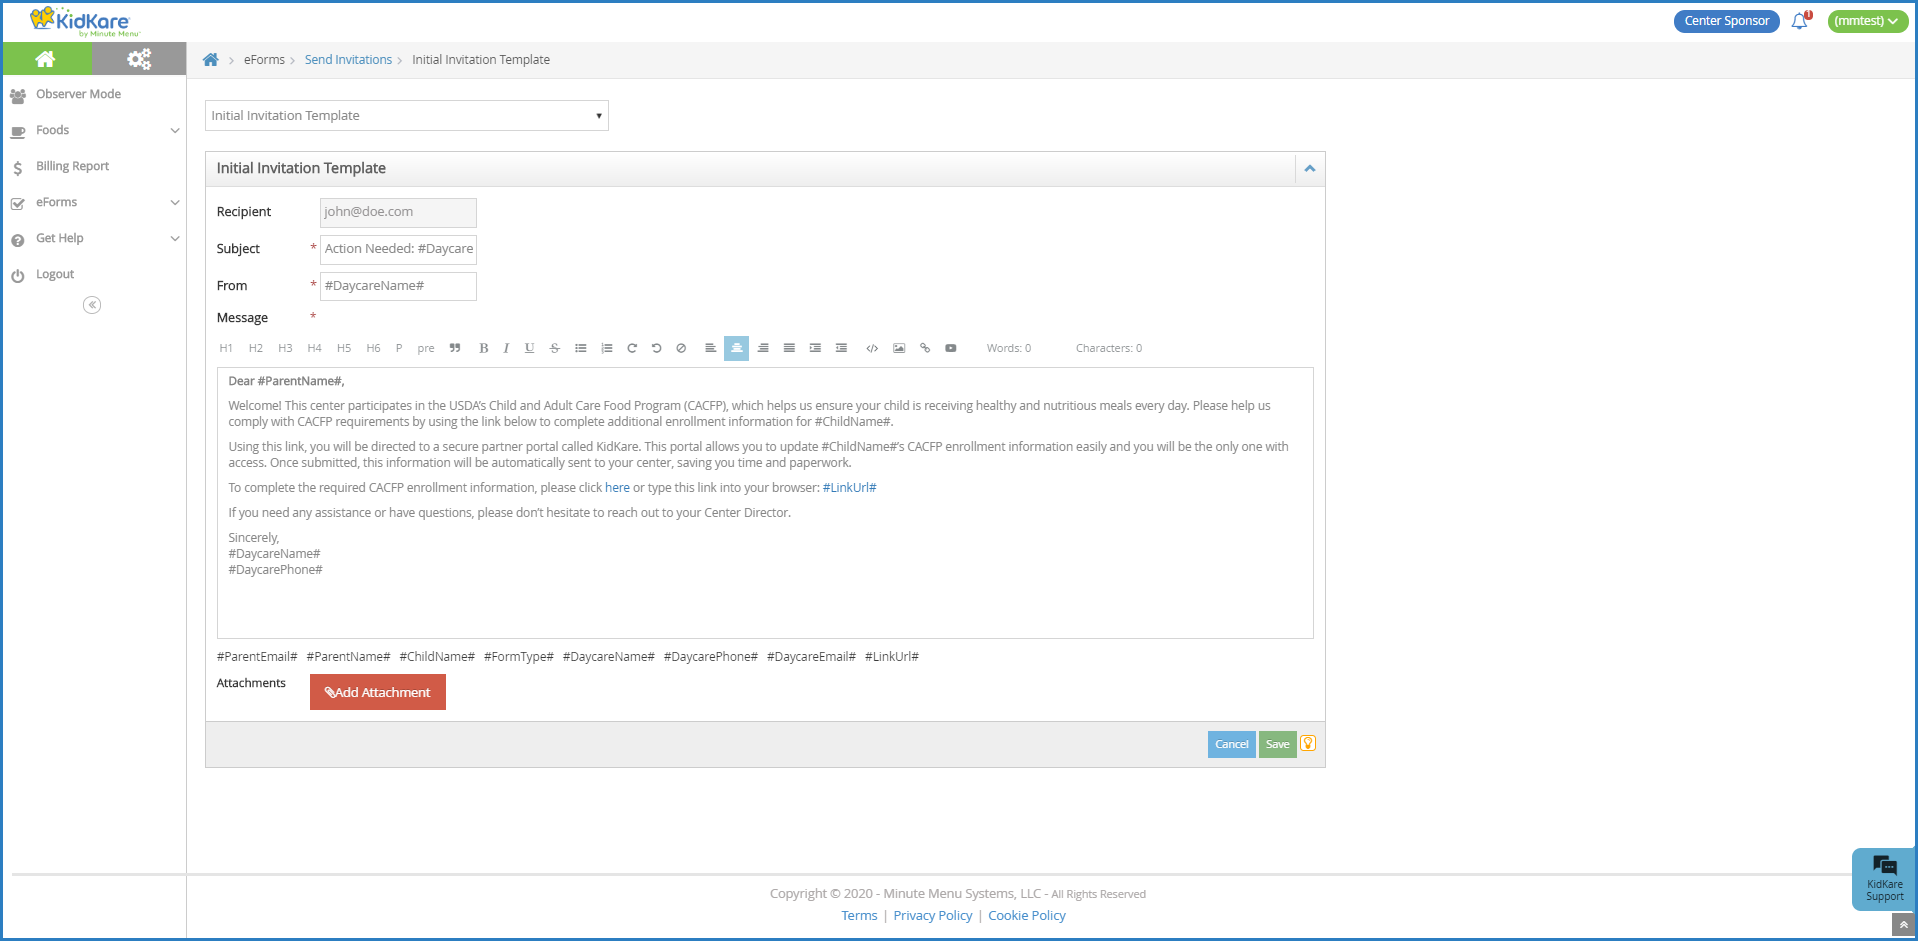
- Click Edit in the bottom-right corner. The Rich Text Editor (RTE) opens. You can edit the Subject, From, and Message fields.
- Use the toolbar to format your message text.

- H1 - H6: Create headings. The largest heading is H1. The headings become progressively smaller from there.
- P: Designate text as Paragraph text. This should be the main body of your message.
- Pre: Create pre-formatted text for copying and pasting.
- ": Create a block quote.
- B: Bold text.
- I: Italicize text.
- U: Underline text.
S: Strikethrough text.- •/123: Create bullted or numbered lists.
- Undo/Redo: Click the arrows to undo changes and re-do changes.
- Alignment Options: Left-align, center, right-align, or justify text.
- Indentation: Indent a line or remove an indentation.
- </>: Switch to HTML mode and use HTML to format instead of the RTE.
- Images: Click the picture icon to embed an image.
- Link: Click the link icon to add a hyperlink.
- Video: Click the play button to embed a video.
- Variables you can use are listed at the bottom of the editor. To use this variables, click in the message and type the variable exactly as it appears. These will populate user-specific information in the message when it is sent. For example, #ParentName# will display as John Smith if this email is sent to John Smith.
- Click Add Attachment to add an attachment to this message.
- When finished, click Save.

