Enrollment information is not updated in Minute Menu CX until you approve and renew enrollments on the Approve & Renew page. This allows you to control when CX is updated. However, remember that children updated with a future enrollment date may be disallowed from the current claim.
In most cases, it is better to wait until the current claim is processed before renewing enrollments in CX. For example, if your new enrollment start date is 10/1, you should wait until the September claim is processed before renewing enrollments in CX.
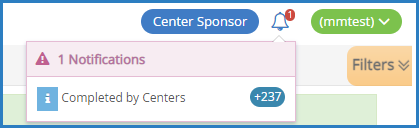
When you have forms ready to review, a notification displays in the top-right corner of the page over the bell icon. The example below shows a notification that some centers have forms ready for approval and renewal.
You can approve and renew forms at the same time, or you can approve and renew the forms as two completely separate steps. Each step is described below:
- Approve: Review forms and check for errors. For example, check numbers for categorically eligible forms, verify parent signatures, review changes, compare last year's information with the updated information, and so on.
- Renew: Once you approve the forms, renew them. This updates the data in Minute Menu CX. Remember to keep timing in mind for this step.
- Approve and Renew: Approve and renew forms in one step.
Before Renewing Forms
Before you renew forms and update data in CX:
- Review and approve forms.
- Verify that the new dates will not cause disallowances on the current claim.
- Verify that you have added your signature to KidKare. For more information, see Add a Signature for eForms.
Approving and Renewing Forms
- Log in to app.kidkare.com using the same credentials you use to access Minute Menu CX.
- From the menu to the left, click eForms.
- Click Approve & Renew. The Approve & Renew page opens.
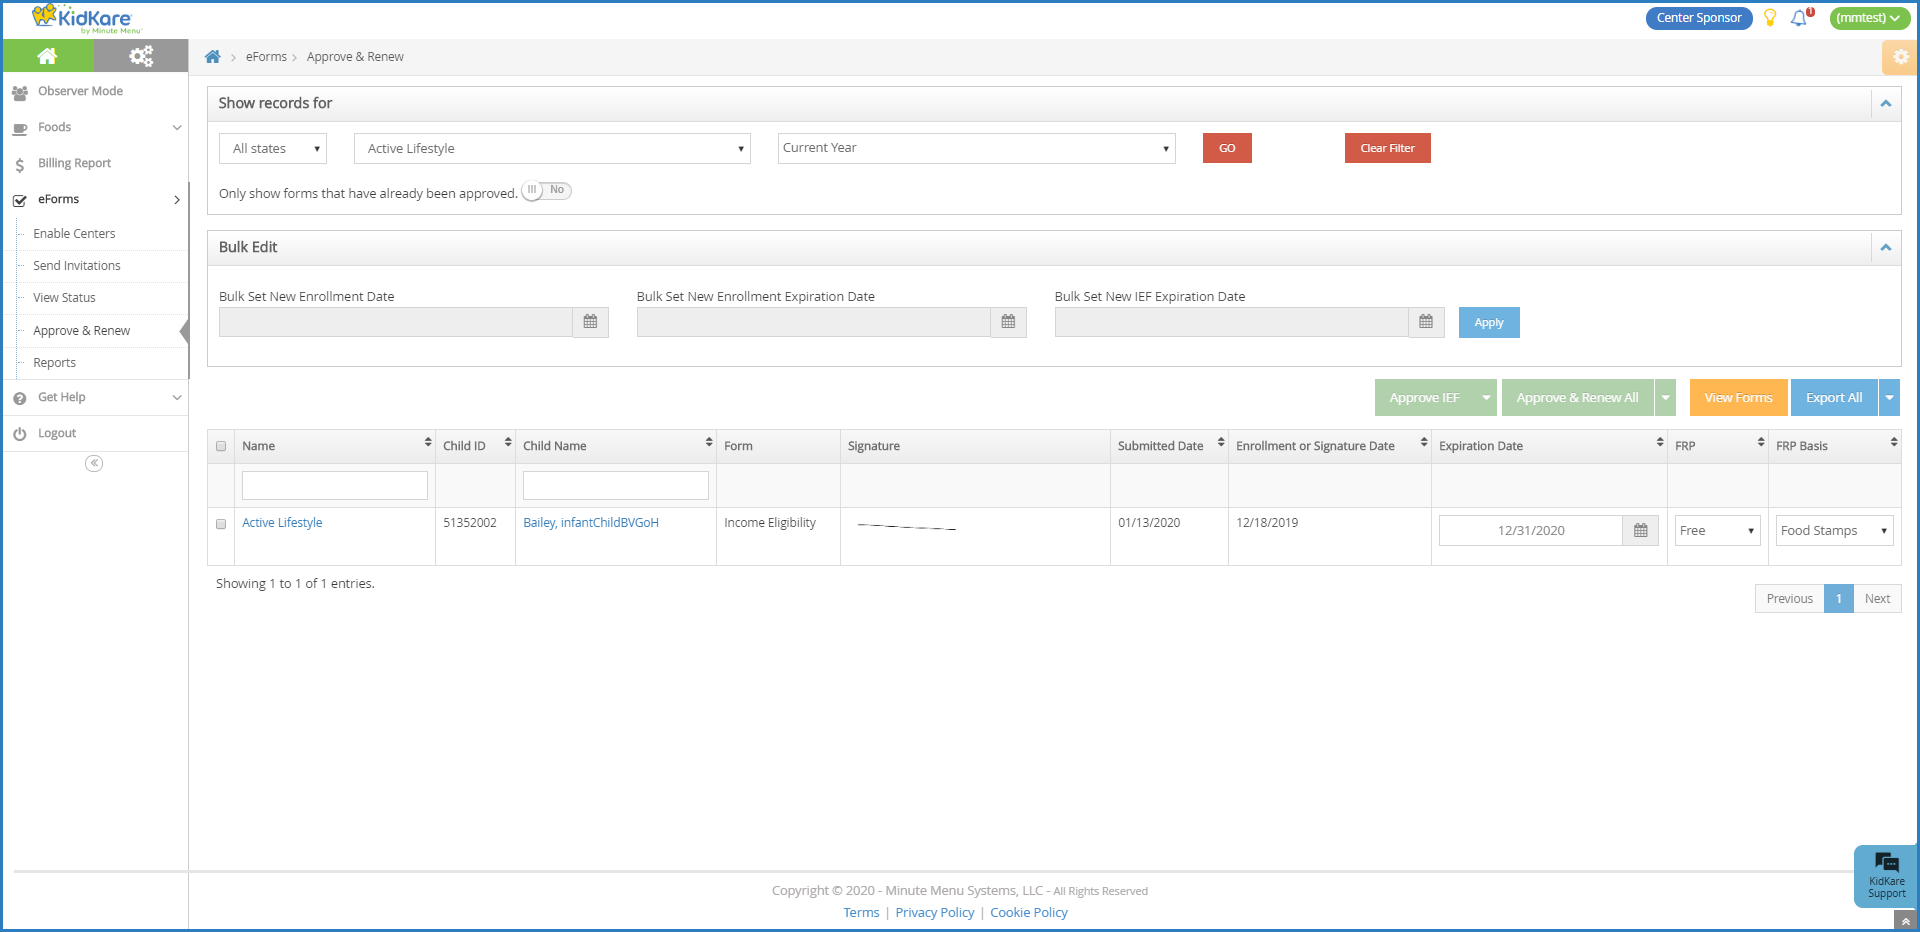
- In the Show Records For section, set filters, as needed.
- Click the State drop-down menu and select the state(s) to view. This option is only available if you are set up for multiple states.
- Click the Centers drop-down menu and select the specific center(s) to view.
- Click the Date drop-down menu and select 30 Days, 60 Days, 90 Days, Current Year, or Previous Year.
- Click
 next to Only Show Forms That Have Already Been Approved to filter to only those forms that have already been approved.
 - Click Go.Note: You can also click Filters in the top-right corner to set additional filters and sorts, as well as to specify which columns display on the page.
- Check the box next to the record(s) to update.Note: Click View Forms to view the forms you are approving/renewing.
- Do one of the following:
- Bulk Edit: In the Bulk Edit section, set new dates in the Bulk Set New Enrollment Date, Bulk Set New Enrollment Expiration Date, and Bulk Set New IEF Expiration Date boxes. Click Apply. Click Approve or Approve & Renew.
- Accept Parent Signature Dates: Click Approve or Approve & Renew.

 next to Only Show Forms That Have Already Been Approved to filter to only those forms that have already been approved.
Notes: If you do not have a signature set up in KidKare, you are prompted to add one once you click Approve/Approve & Renew. You can also click a child's name to view their record and edit information, as needed. When finished, click Approve or Approve & Renew.
Sending Forms Back for Revision
If a form requires revision, you can send it back to the parent for changes. To do so:
- On the Approve & Renew page, locate the appropriate child.
- Click the child's name. The Child Information page opens.
- Click Send Back for Revision.
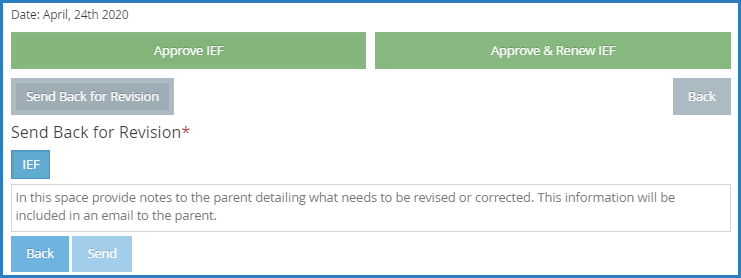
- Select the form(s) to send back (EF, IEF, or both).
- Click the text box and enter notes for the parent. This information is included in the email sent to the parent.
- Click Send.

Exporting Approval Information
- Click
 next to Export and View or All to export approval information.
- Export View: This exports the information displayed on the Approve & Renew page.
- Export All: This exports complete approval data.