- Log in to app.kidkare.com using the same credentials you use to access Minute Menu CX.
- From the menu to the left, click eForms.
- Click Send Invitations.
- Set filters for the centers/children to include.
- Click the State drop-down menu and select the state(s) to view. This option is only available if you are set up for multiple states.
- Click the Centers drop-down menu and select the specific center(s) to view.
- Click the Child Expired and Expiring Within drop-down menu and select 30 Days, 60 Days, 90 Days, or Custom Date. If you select Custom Date, set a date range in the From/To boxes.
- Click
 next to Hide Invitations That Are Currently Open to hide open invitations. This is set to No by default.
 - In the What Forms Would You Like to See section, click elect Enrollment, Income Form, or both.
- Click Go.
- Check the box next to the child/center to which to send an invitation. You can also check the box at the top of the column to select all displayed records.
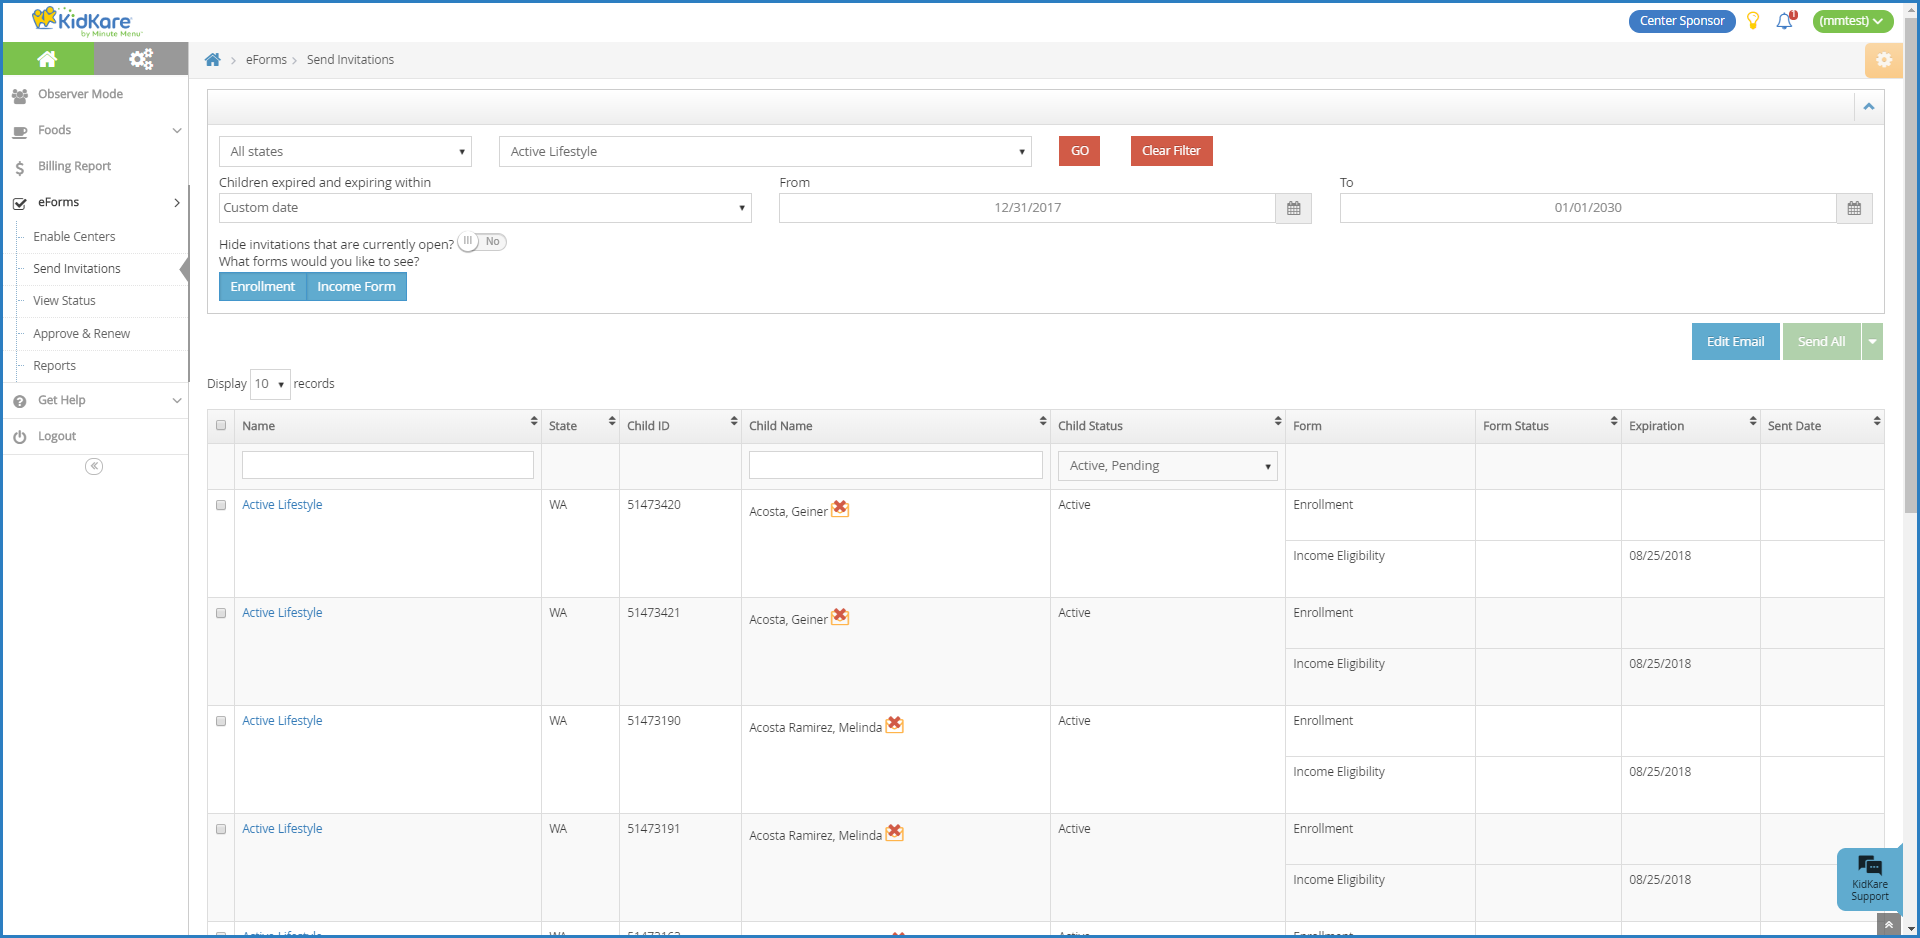
- Click
 and select All, EF, or IEF. Parents with an email address are emailed directly.
  displays next to children for whom there is no email address on file.
 next to Hide Invitations That Are Currently Open to hide open invitations. This is set to No by default.
 displays next to children for whom there is no email address on file.
Centers can log in to app.kidkare.com with their user credentials (the same ones they use to access Minute Menu CX) to view all invitations and their statuses.