The USDA recently released guidance to states for how to handle distribution of COVID-19 relief funds for child nutrition programs. You can read the full text of the memo here. Reimbursement will be calculated for March, April, May, and June 2020 based off of reference from the same months in 2019.
This article provides instructions for gathering the necessary claims data for reimbursement under the COVID-19 Relief Bill.
Gather Claims Totals
Run the Claims List Export File get a list of claims amounts for March - June of 2019 and 2020. Note that you will need to run this report twice: Once for 2019 and once for 2020. Follow the steps below to run the report for each time period, and compare the resulting XLSX files, as needed.
- Click the Reports menu, select Claims, and click Claims List Export. The Center Filter window opens.
- Click Next without setting any filters. This ensures that all centers are included. The Claim Export Filter window opens.
- Set a range of claim months:
- Check the Claim Month box.
- Click the Starting Month drop-down menu and select March 2019.
- Click the Ending Month drop-down menu and select June 2019.
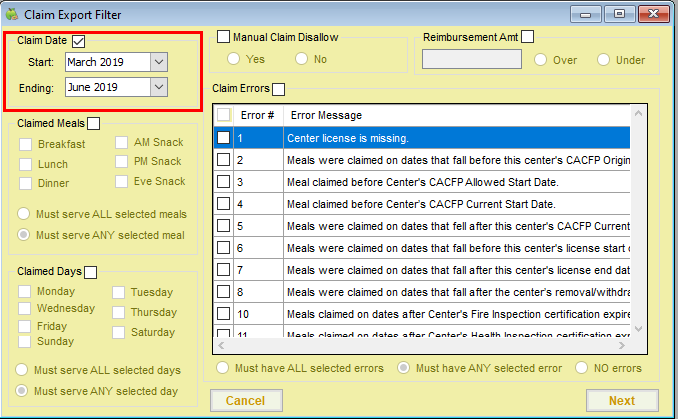
- Click Next. The Select Output for Export File dialog box opens.
- Check the Dollar Amounts box.
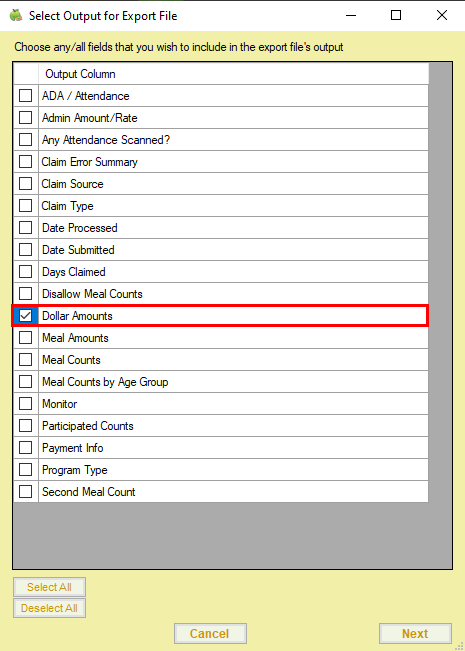
- Click Next. An XLSX file is generated. Save it to your computer.
- Repeat Steps 1-6 for 2020. In Step 3, select March 2020 as the Starting Date and June 2020 as the Ending Date.


Issue Payments with Minute Menu CX
If you choose to distribute funds received from the state with Minute Menu CX, you can do so by issuing a non-claim payment adjustment.
- First, create a non-claim payment adjustment.
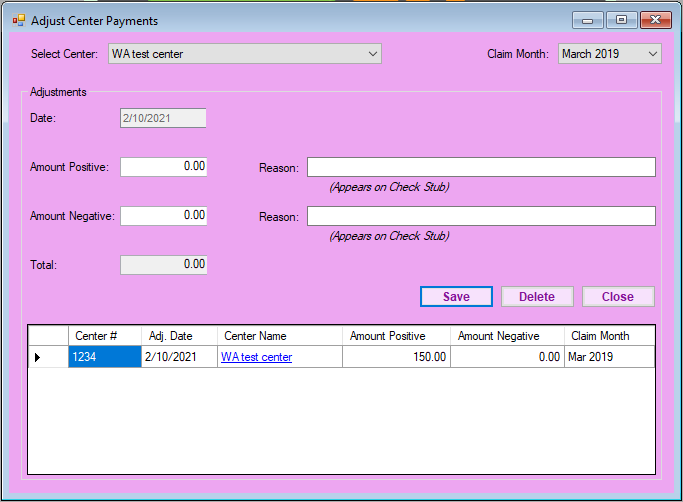
- Click the Payments menu and select Adjust Non Claim Center Payments. The Adjust Center Payments window opens.
- Click the Claim Month drop-down menu and select the month to which you need to make an adjustment.
- Click the Select Center drop-down menu and select a center. Only those centers with a claim for the selected month display in this menu.
- Enter the emergency reimbursement in the Amount Positive box.
- Click the Reason box next to Amount Positive box and enter the reason for this adjustment. For example, you could call out that this payment is specifically for federal emergency relief. This prints on the provider's check/payment voucher.
- Click Save. A row is added to the bottom of the window and displays the adjustment you added.
- Next, issue payments. For more information, see Issue Payments.
